Superpower Emblem: Cuttle Bone Casted Keychain
Criteria for your design:
- CHOOSE A CONTAINER (Circle, Oval, Shield, etc.)
- CHOOSE A SYMMETRY (Symmetrical, Rotational, or Tilted Axis)
- FILL THE SPACE (TOUCH THE EDGES OF THE DESIGN BOX)
- USE TYPEFORM (BOLD LETTERS) OR AN OBJECT (The cast will be a REVERSE of your design, so you will need flip
it before applying your design.
- GIVE THE TEXT OR LOGO/EMBLEM A 3-D OR A MOVING/EXPANDING EFFECT (tilted axis)
- SIMPLIFY IT TO POSITIVE AND NEGATIVE SHAPES (NO THIN OUTLINES OF FINE DETAILS)
- SHADE THE RECESSED (negative) SHAPES, LEAVE WHITE THE RAISED SHAPES (the parts you will carve deeper in
the cuttlefish)
- MAKE AS MANY SKETCHES AS YOU NEED (KEEP ALL YOUR ATTEMPTS)
Terms to Know For This Project:
- Cuttlefish Bone- buoyant and porous bone of the cuttlefish cephalopod, historically used for carving and casting metal jewelry
- 2-Part Mold- a mold form consisting of 2 halves, held together, the metal is poured into a funnel carved from both parts, the cavity is filled with metal creating the cast.
- Relief- a design made from raised and recessed shapes and lines.
- Impression- carving or pressing a design into the surface of something
- Negative Shapes- the unused area around the object of interest
- Texture- the feeling of a surface, perceived through touch
- Symmetry- a type of balance that has the same lines, shapes, patterns and colors, on both sides across a central axis
- Rotational Symmetry- a type of balance that has a central point and things radiate or rotate around that point
- Tilted Axis- a type of balance that has the same lines, shapes, colors, & patterns on both sides across a diagonal axis
- Focal Point- the area of a design that draws the viewers attention
- Reversed/Mirror Image- when a print or cast is made it is the opposite of the original plate or mold
- Carving/Reduction/Subtraction- creating a design through removing material by sawing, filing, sanding, carving, etc.
- Funnel/Sprue- a channel or gateway for metal to get into the mold
- Pewter- a metal alloy of Tin, Antimony, & Copper- grayish in color and melts at a low temperature, 550 degrees
- Crucible- a ceramic vessel used to heat molten metal
- Ingot- a metal "cube" or unit of weight
- Patina- a chemical reaction that changes the color of the surface of metals
- Nitric Acid- a patina used to darken the surface of pewter
- White Diamond- a buffing compound used specifically on Pewter
How To & Next Steps
- Get your finalized design checked by Ms. Ferrell & Find an appropriately sized cuttlefish bone
- Smooth out the cuttlefish bone by rubbing it against a brick (OVER THE TRASHCAN)
- Cut the cuttlefish in 1/2, so you have a back and a front.
- Lightly brush off the fine dust revealing the natural texture of the bone
- On the “front” trace the shape of the “container” for your superpower emblem, then lightly scoop or scrape away an even layer. BE CAREFUL! YOU CANNOT PUT IT BACK IF YOU GO TOO DEEP!
- Next, trace the REVERSE of your final design into the center of your container, dig it out a little deeper make sure you have crisp edges
- Use the tools to compress the cuttlefish edges, add a border if desired, add a small loop where the keychain will hang
- Carve a small funnel connecting the cut edge of the cuttlefish to your design. This will be your pour spout to get the metal into your mold
- Match up the two pieces and add a small funnel on the back side (make sure it doesn’t go too deep or extend too long)
- With the pieces together saw 4 small notches and wrap with binding wire
- Press oil-based modeling clay around the two edges to seal the mold
- Using a large neutral flame with the gas/air torch heat up the crucible. Place the pewter ingots and bring them to a fluid melting temperature.
- Place the mold (funnel side up) in a bucket of sand
- Carefully pour the pewter into the mold funnel while tapping the side of the sand can.
- Wait 10-15 minutes until the mold tools to the touch, carefully unwrap the binding wire and ball up the excess oil-based clay for re-use.
- It is possible to alter the mold and re-pour if something leaks or doesn’t work right, but it’s also possible the mold will fall apart after a few uses
- To finish the keychain: cut off any excess, file the edges, sand (220, 400, 600, and wet 600)
- Apply Nitric Acid to the surface of the pewter, do the wet 600 stage of sanding and buff/polish to a high shine
- You’re done!
Student Gallery: Fall 2018
STEP 1: Emblem Design
STEP 2: Potato/Cuttlefish Carving
STEP 3: Carving the Cuttlefish
STEP 4: Cuttlefish Casting (Part A)
STEP 5: Cuttlefish Casting (Part B)
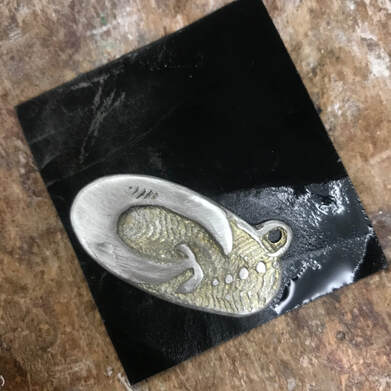
STEP 6: Refining & Finishing the cast
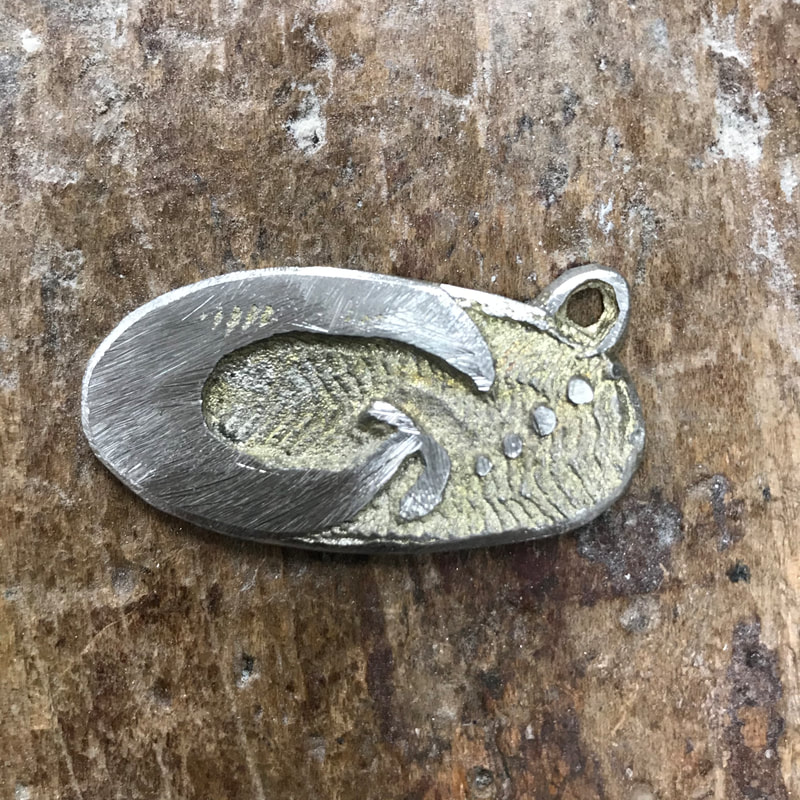
After Filing |
After Sanding (220, 400, 600 & wet 600) |
|
|
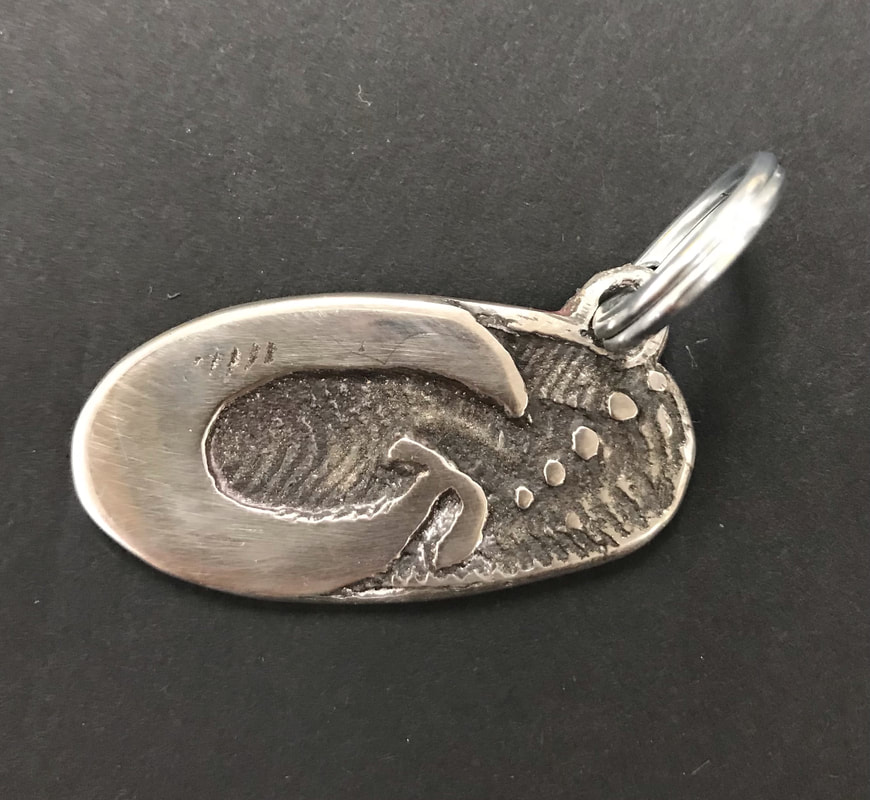
STEP 7: Applying Patina - then a quick buff (white diamond) and polish (rouge)
Finished Keychain!