| rings-_level1.docx |


|
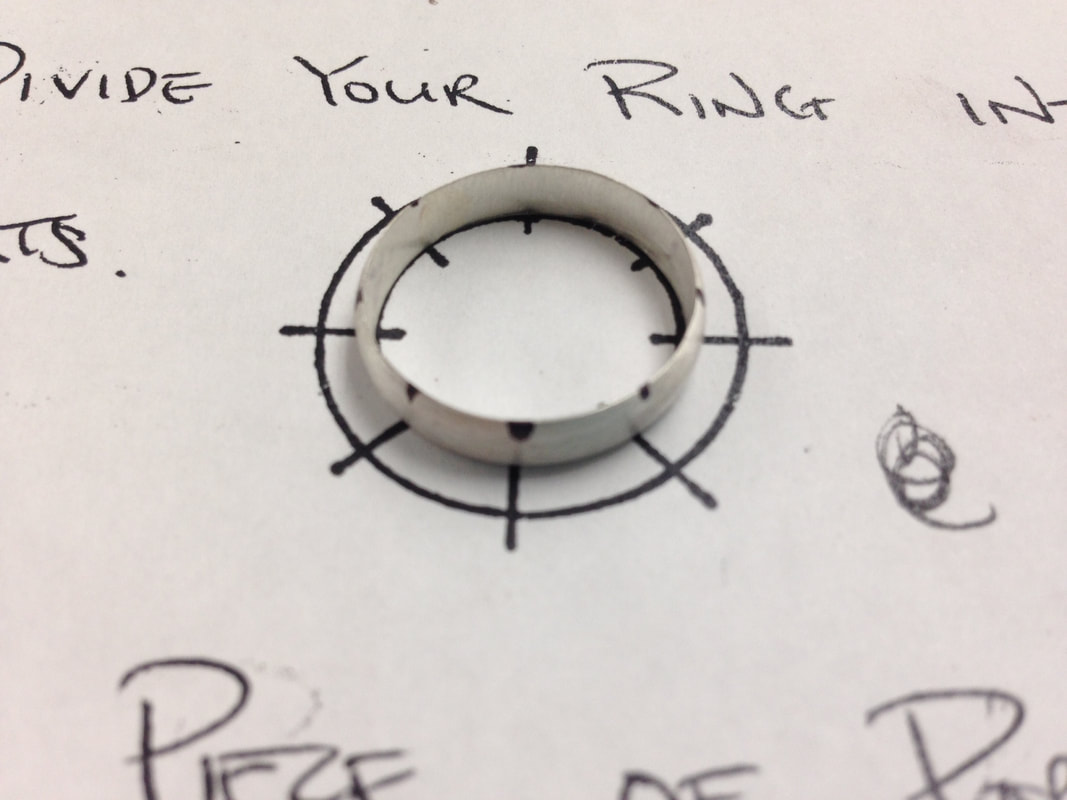
1. Use the Ring Sizer to determine the size of the finger you are making the band for.
2. Add 1.5 sizes to that measurement (to account for compression and shrinkage on the interior of the band). For example if your finger is a size 7, you will cut the metal at a size 8.5 - see step #5 3. Anneal the ring blank or wires (if needed- silver and copper sometimes come pre-annealed). 4. Stamp a word or initials into the ring to personalize it (optional except for the silver dome and brass band projects) 5. Use a small strip of paper to wrap tightly around the Ring Mandrel to measure out the length of metal needed to create a ring of the specific size (Don't forget to add 1.5 sizes to account for compression and shrinkage- See step #2) 6. Transfer the length of the paper onto the metal blank with a thin sharpie line on both ends of the metal. Then use the sheers to snip off the ends. 7. Use the Belt Sander to even out each end to a perfect rectangle that is even and squared (Check this step with Ms. Ferrell!!!) 8. Position your ring in the "D-Position" by using protected Flat Nose Pliers, the Ring Mandrel and tapping it flat with the Leather Mallet. 9. Hold the ring up to the light and examine it with the Loupe. If you can see light coming through the connection, reposition it until everything is aligned and even (Check this step with Ms. Ferrell!!!) 10. Prepare the join for soldering: Clean Surfaces (scour with soap and water), Good Connection (step #9), Position in the Third Hand Tool pressing closed against a brick, apply Flux to the join, select the appropriate solder, heat both sides evenly using a medium sized Neutral Flame, use a Solder Pic to move the melted solder across the join. 11. Clean the ring after soldering by putting it in the Pickle Pot for 1-2 minutes and scouring the surface. The combination of Sodium Bisulfate & Water used to remove the oxidation after soldering. 12. Use Needle Files and a Bench Pin to carefully remove the excess solder at the Join 13. Work your way through all 4 levels of Sand Paper + Cross Sanding at EACH stage (220, 400, 600, wet 600) on ALL surfaces to remove file marks and prepare the ring for Buffing and Polishing. Use the Flex Shaft to sand the interior surface of the ring (be careful not to over-sand your stamping) 14. Bring the ring to a HIGH SHINE by Buffing all surfaces with Tripoli, followed by Polishing all surfaces with Rouge. Lastly, clean off the buffing and polishing compounds in warm soapy water. |


*Dome with a pattern (this is the last step of the 10 point extra credit ring)
|
|
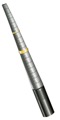
STEP 1-3: Measuring the Paper Slip & Sizing the Ring
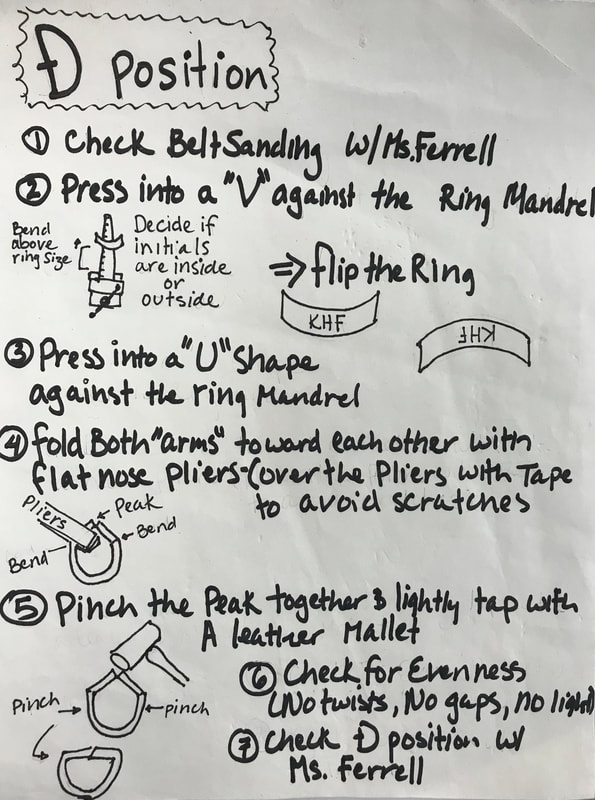
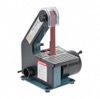
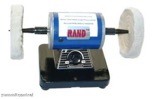
STEP 3: Belt Sanding
* CHECKING THE BELT SANDING
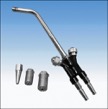
STEP 4: Annealing & Torch Safety
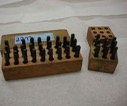
STEP 5: Stamping
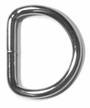
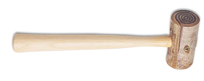
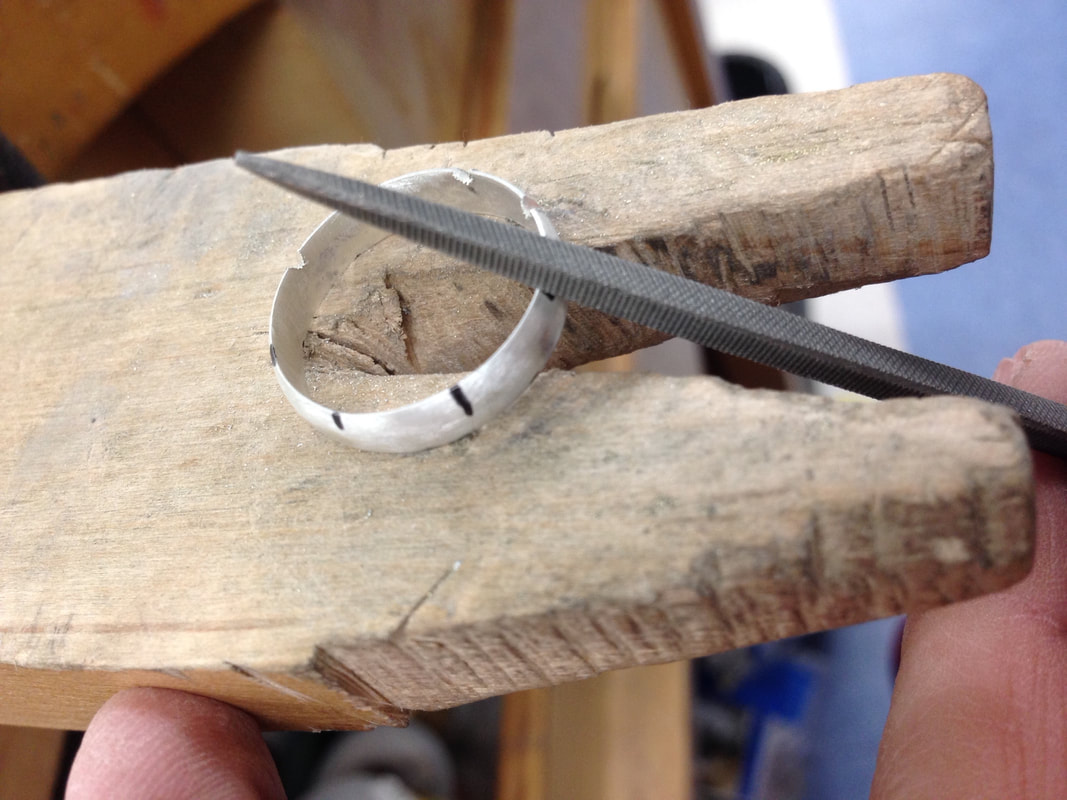
STEP 6: D- Position