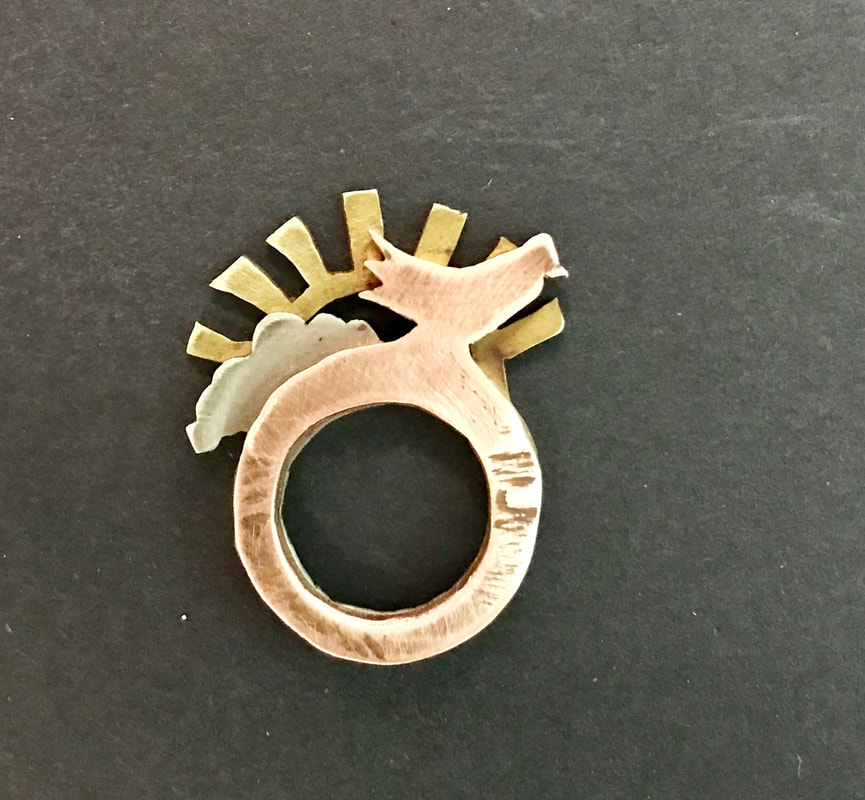
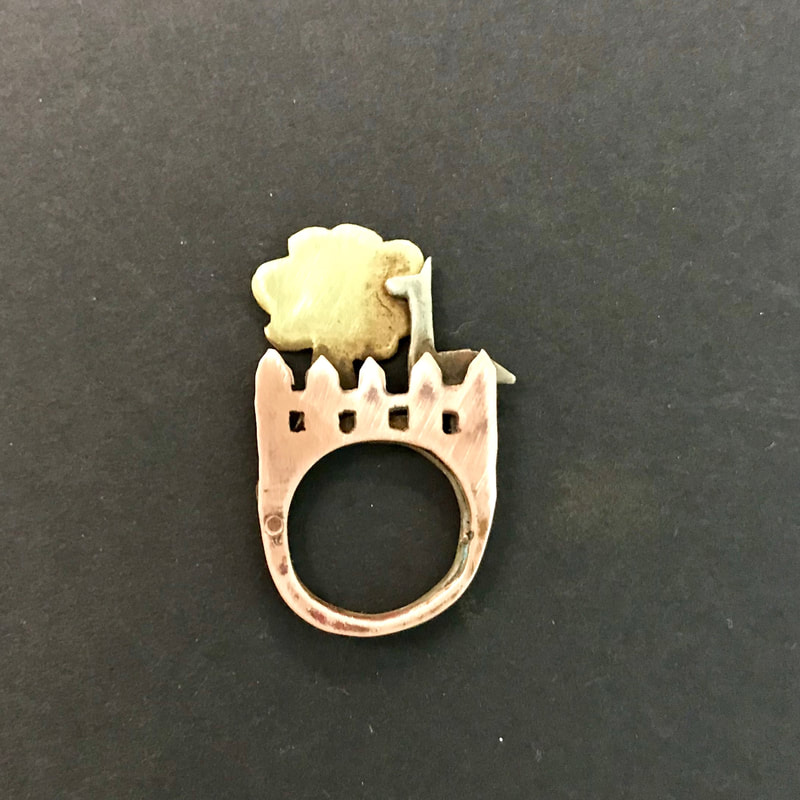
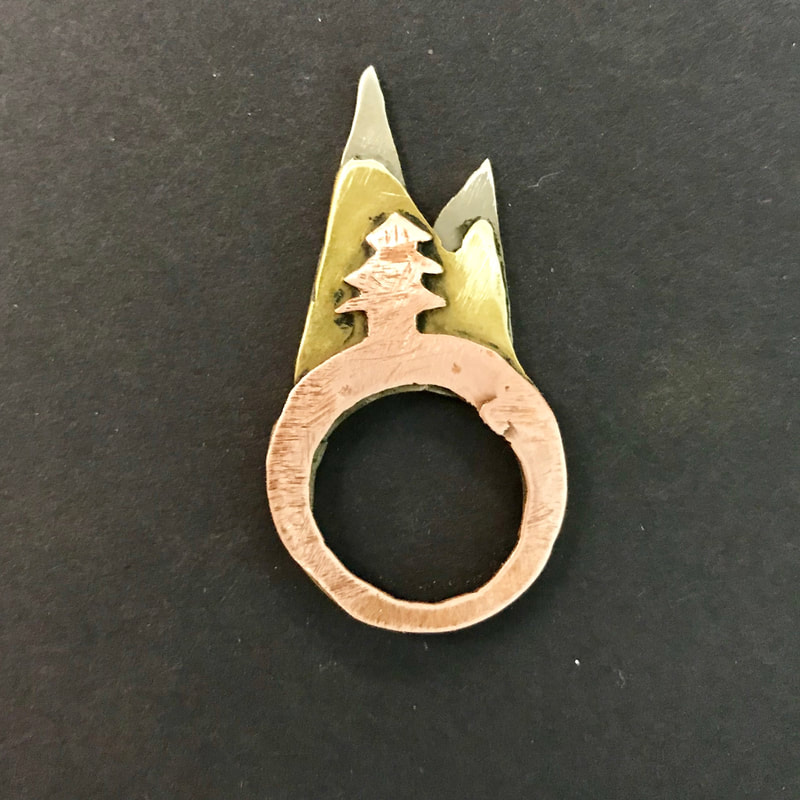
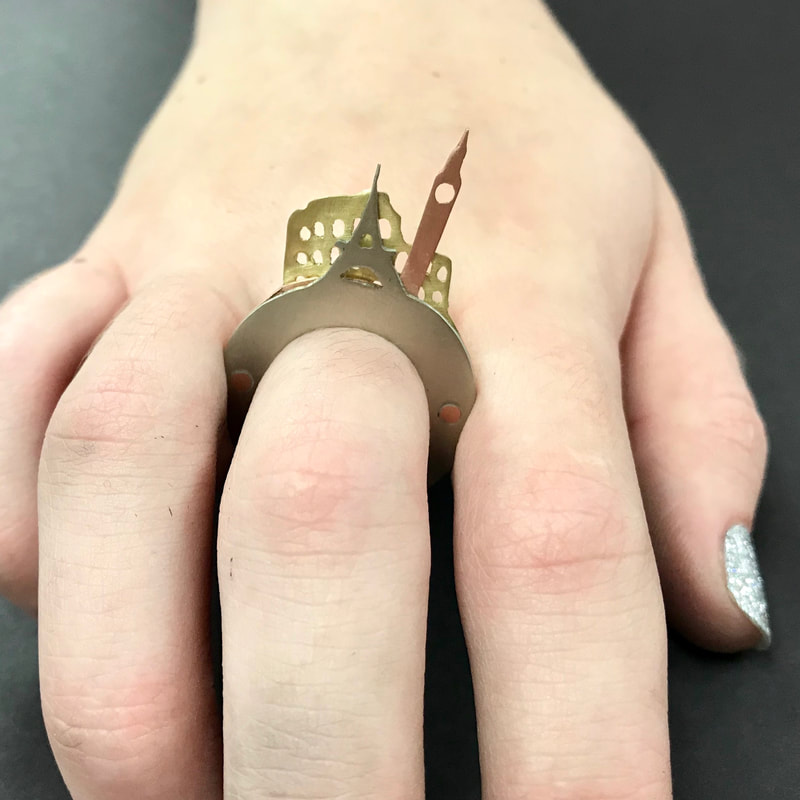
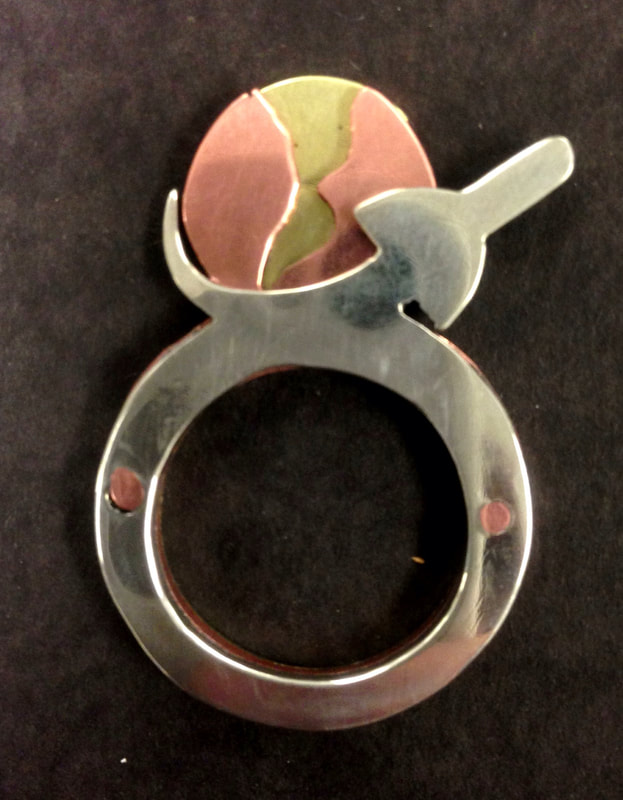
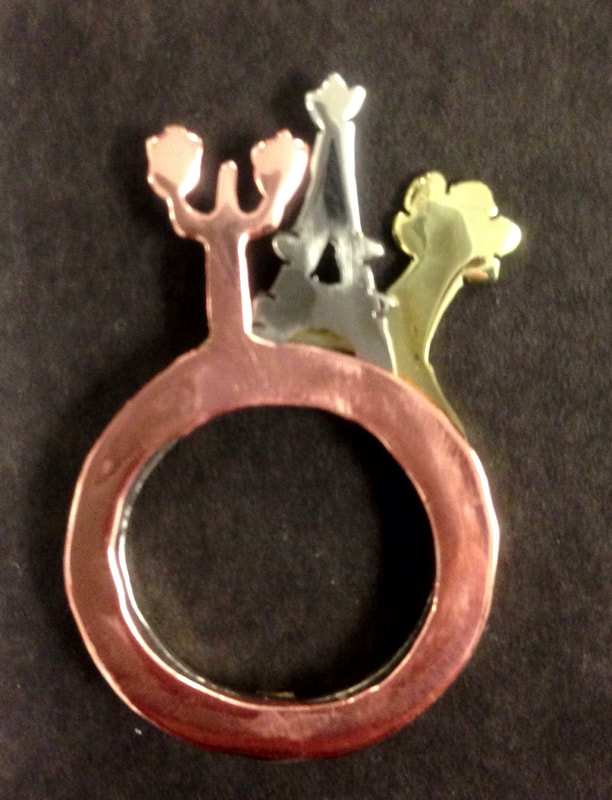
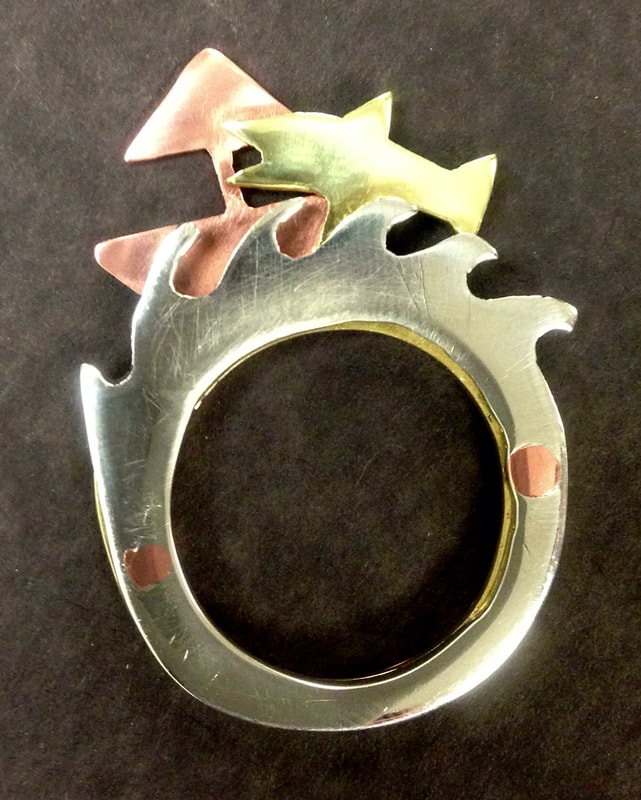
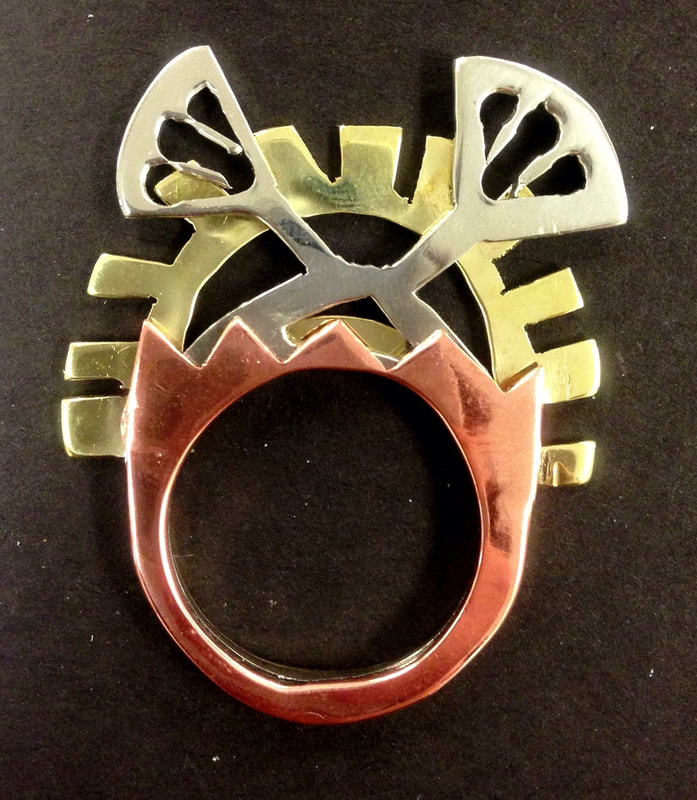
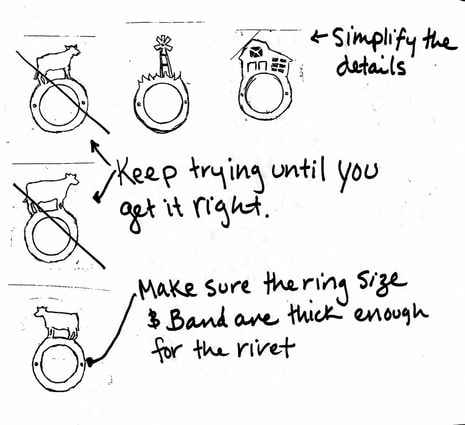
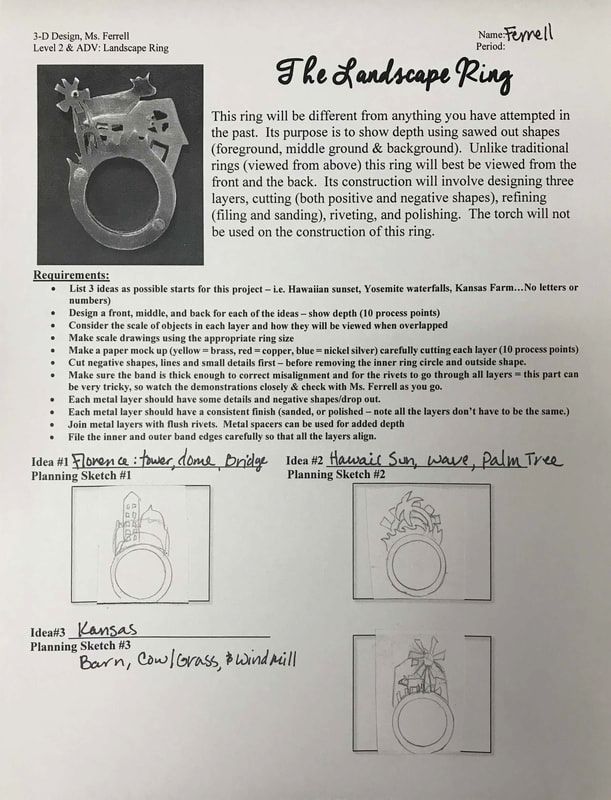
This ring will be different from anything you have attempted in the past. Its purpose is to show depth using sawed out shapes (foreground, middle ground & background). Unlike traditional rings (viewed from above) this ring will best be viewed from the front and the back. Its construction will involve designing three layers, cutting (both positive and negative shapes), refining (filing and sanding), riveting, and polishing. The torch will not be used on the construction of this ring.
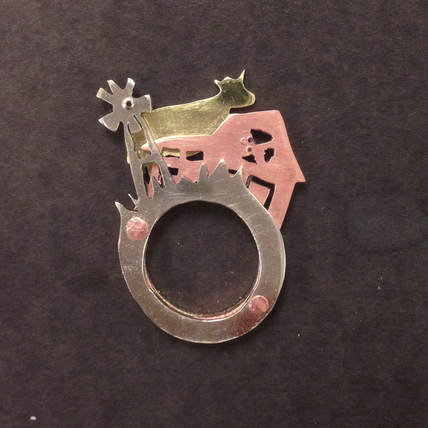
Student Gallery: Spring 2014- present


Requirements:
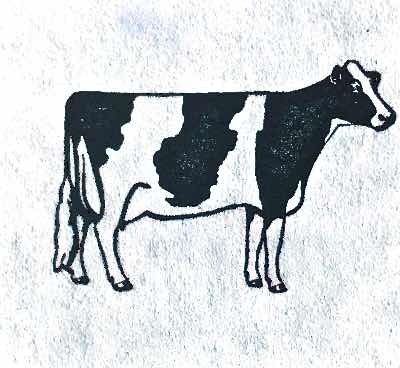
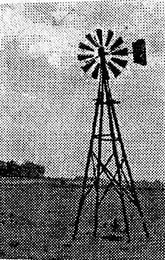
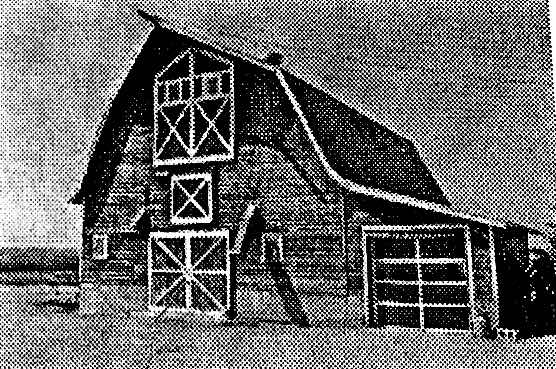
- List 3 ideas as possible starts for this project – i.e. Hawaiian sunset, Yosemite waterfalls, Kansas Farm…No letters or numbers)
- Design a front, middle, and back layer for each of the ideas – show depth
- Use a different metal for each layer
- Consider the scale of objects in each layer and how they will be viewed when overlapped
- Make scale drawings using the appropriate ring size (10 process points)
- Make a paper mock up (yellow = brass, red = copper, blue = nickel silver) carefully cutting each layer (10 process points)
- *TIP: Cut negative shapes, lines and small details first – before removing the inner ring circle and outside shape.
- Make sure the band is thick enough to correct misalignment and for the rivets to go through all layers = this part can be very tricky, so watch the demonstrations closely & check with Ms. Ferrell as you go.
- Each metal layer should have some details and negative shapes/drop out.
- Each metal layer should have a consistent finish (sanded, or polished – note all the layers don’t have to be the same.)
- Join metal layers with flush rivets. Metal spacers can be used for added depth **THIS PART IS TRICKY SO WATCH DEMOS CLOSELY!!!!!***
- File the inner and outer band edges carefully so that all the layers align.
Steps & Examples: Collect Resources, Sketch, Paper Cut-out Practice
|
|
|
|
|
